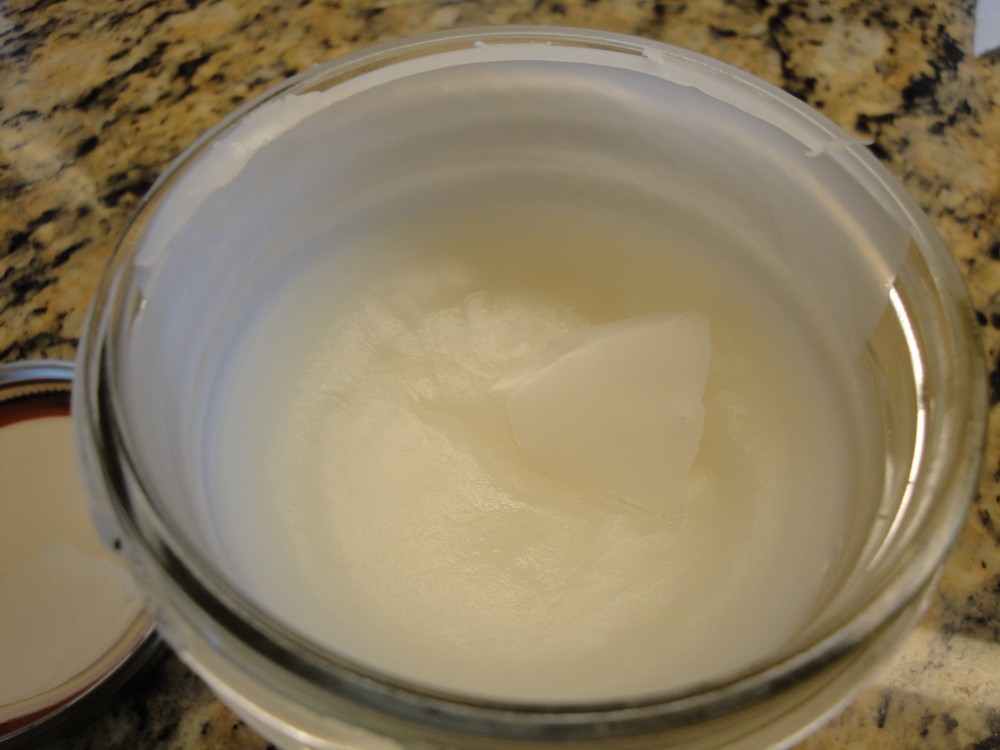
The old timer’s always said; pies, cookies and cakes made with lard were so much better. Now that I make my own lard from healthy fat I can testify it’s true! The best lard to use for baking is, said to be leaf lard. The very best fat is said to be Bear lard. After more than a half century of the disinformation about natures’ healthy fats, our super markets are still stocked with only un-healthy hydrogenated, trans-fat lard products. Click on picture to see how easy it is to make healthy home-made lard. 


The biggest trick to making flakey incredible crust, a-part from using good lard, is not over mixing. Basically the dough should just barely stick together, and the little bits of lard fat should be visible in the dough before baking. Too much water will also make the dough tough. This recipe makes enough for two, 8-9 inch bottom crust or one top and bottom. In my experience making smaller batches turns out better. Most likely because the dough if over worked is stiff and tough.
Pie Crust
- 1/2 cup home-made lard or like quality
- 1 & 1/4 cup flour: Organic unbleached white flour (I use* Bob’s Red Mill) made from organic hard red wheat.
- 1/2 teaspoon unrefined sea salt (I use *Real Salt)
- 1/2 teaspoon sugar (I use Madhava unrefined coconut sugar)
- 2-3 tablespoons filtered ice water as needed
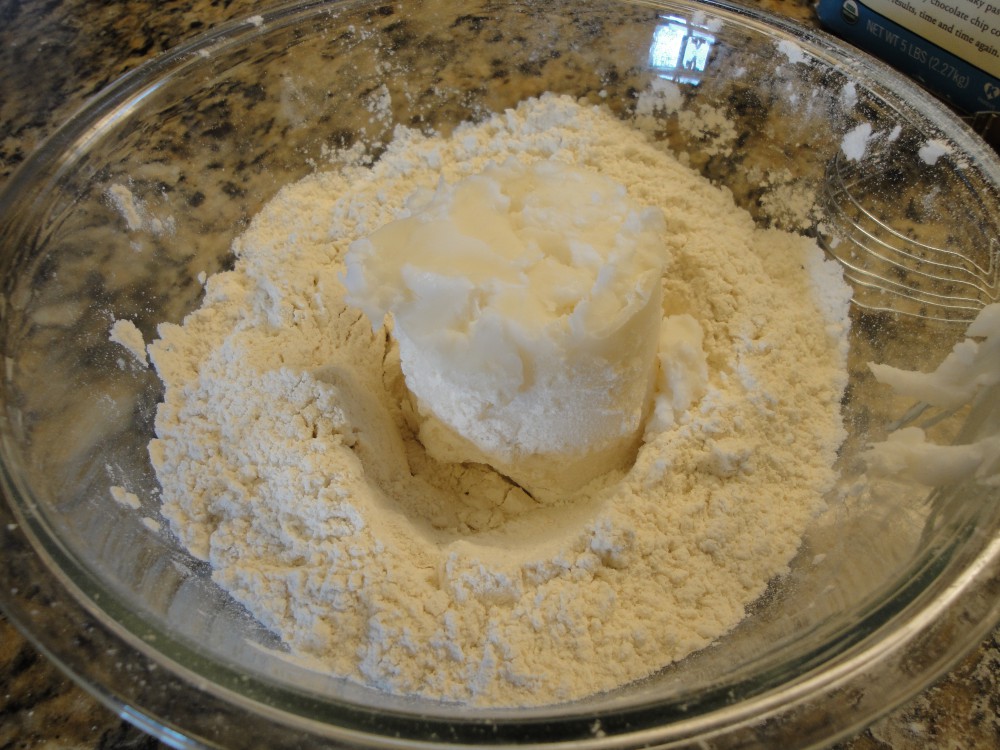
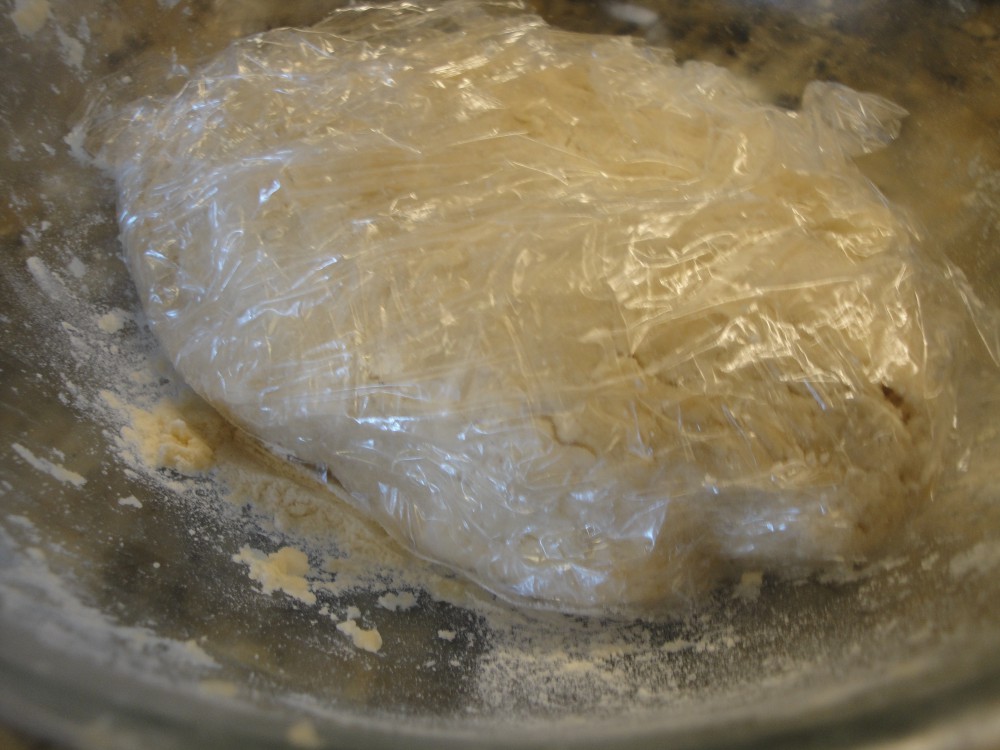
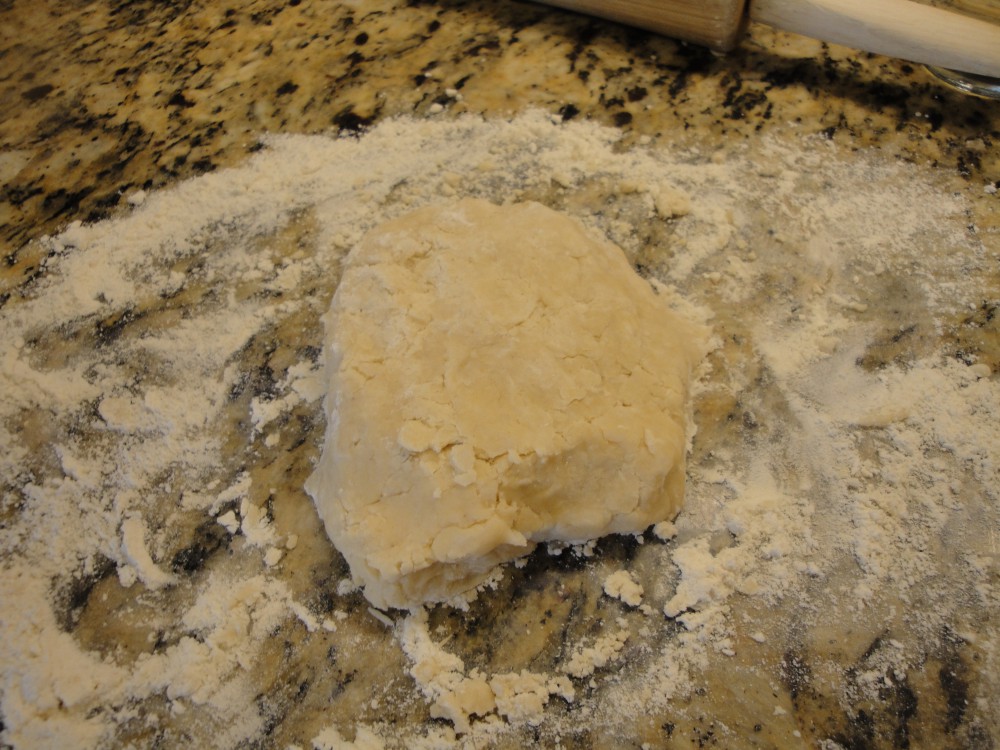
Make sure lard is cold. Measure flour. Mix in salt and sugar. Add lard and cut in with pastry cutter, or forks, butter knives, or your fingers. Cut well and fluff, (the fat needs to be cut not pressed, see picture above. The little pieces of fat will not all be the same size, but they need to be well distributed. Add I to 2 tablespoon of ice water. Gently press together. When it holds together it’s enough water, if not add a bit more as needed, but be careful, to not over handle. You can see above my dough was still a bit crumbly, not solid and pasty. (The dough can be wrapped and put in the refrigerator, until the filling is ready.) Divide dough in half. Lightly flour a surface for dough, press a bit to flatten. Rub flour over rolling pin. Roll disk from center out, turning to keep making the circular shape. Slide a pastry cutter or knife gently under the dough as you work it to help keep if from sticking to the surface. It might need a bit more flour. When the circle is about 3 or so inches bigger than the top of the pie plate and about 1/8 inch or a little more thick, it’s done. If dough has cracked apart, do not redo by rolling, just push it back together. Now lift the dough by rolling it onto the rolling pin, then unroll it onto the pie pan. If this is confusing, try doing it with a towel first to get the hang of it. Lightly press dough in the dish and crimp the on top. You can get fancy with this or just do it stupid simple like I did. Again push together breaks. Cut off any over hang. Now your pie shell is ready for filling.

Pingback: Pumpkin Pie from Real Pumpkin, it’s easy & Delicious! Taste the Difference! | Pam's Tactical Kitchen
Pingback: Apple Cheese Pie | Pam's Tactical Kitchen