


Here’s what we’ve done so far. Next we need to do the insulation layer. I’m looking for sawdust for the mix. Back to what we’ve done so far.
1. Scott my husband, went up to the foot hills to a patch of bare land in the family and dug up dirt. It seemed like good clay dirt. At home we sifted thru the dirt to remove stuff like glass, tin, rocks and other debris. After many test bricks, Scott got his recipe: 2 parts concrete sand to 1 part clay dirt.
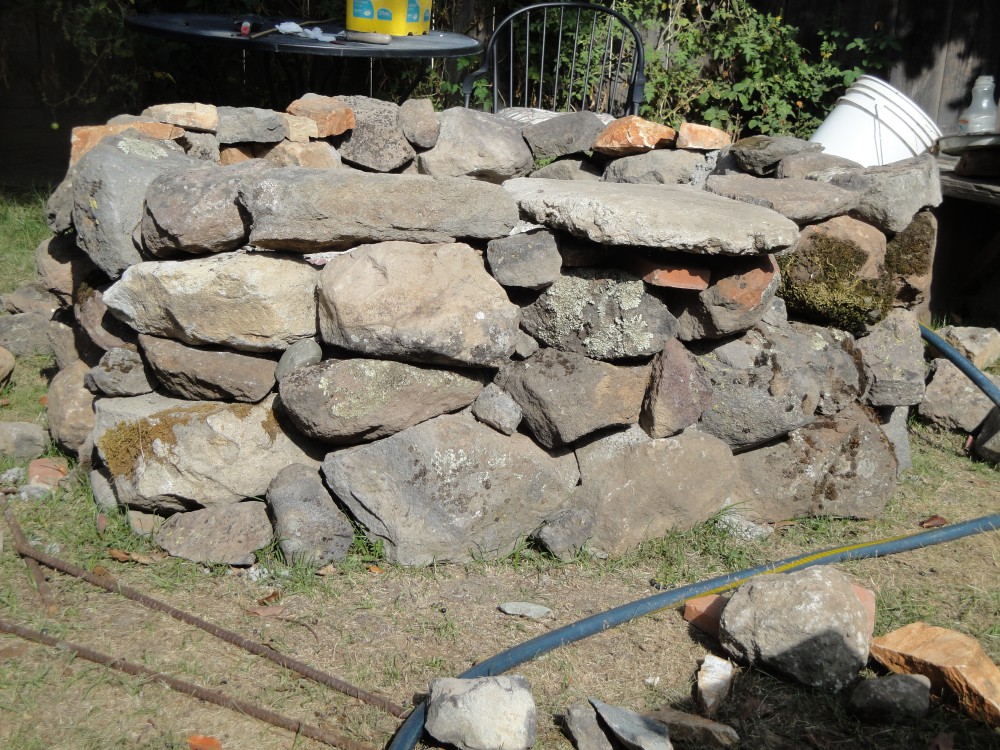
2. Next we picked up rocks from the bare land and over a couple of months I built the outer ring of the base. Once we were happy with the ring, we filled it in with urbanite and covered it with sand and water to level.
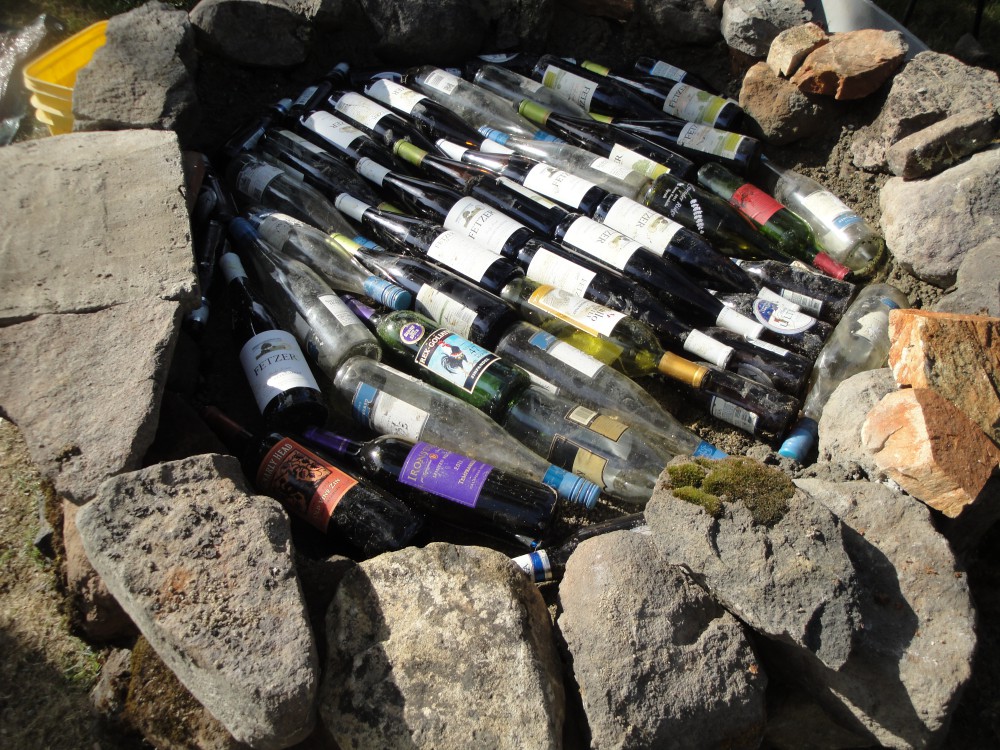
3. We nested bottles into the sand layer for insulation. Then covered with more sand and water to level.
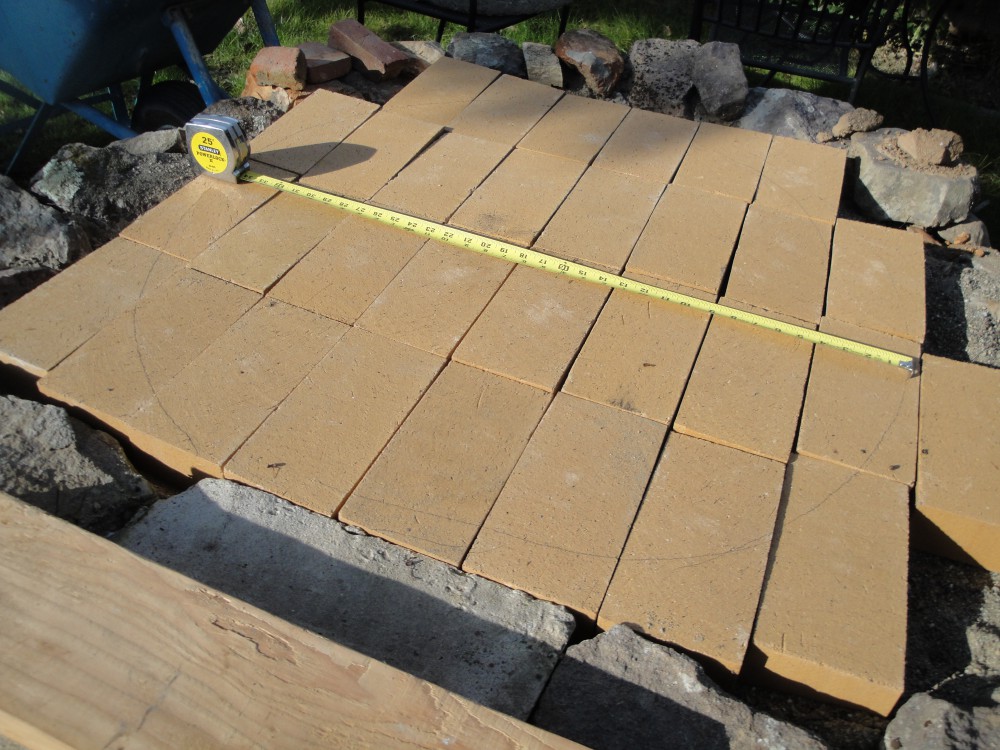
4. Placed fire bricks onto of the sand. Unfortunately I only took one picture of this process, and it was just the first attempt to see if I had enough bricks. After many times of leveling the bricks I finally got it flat with almost no gaps.
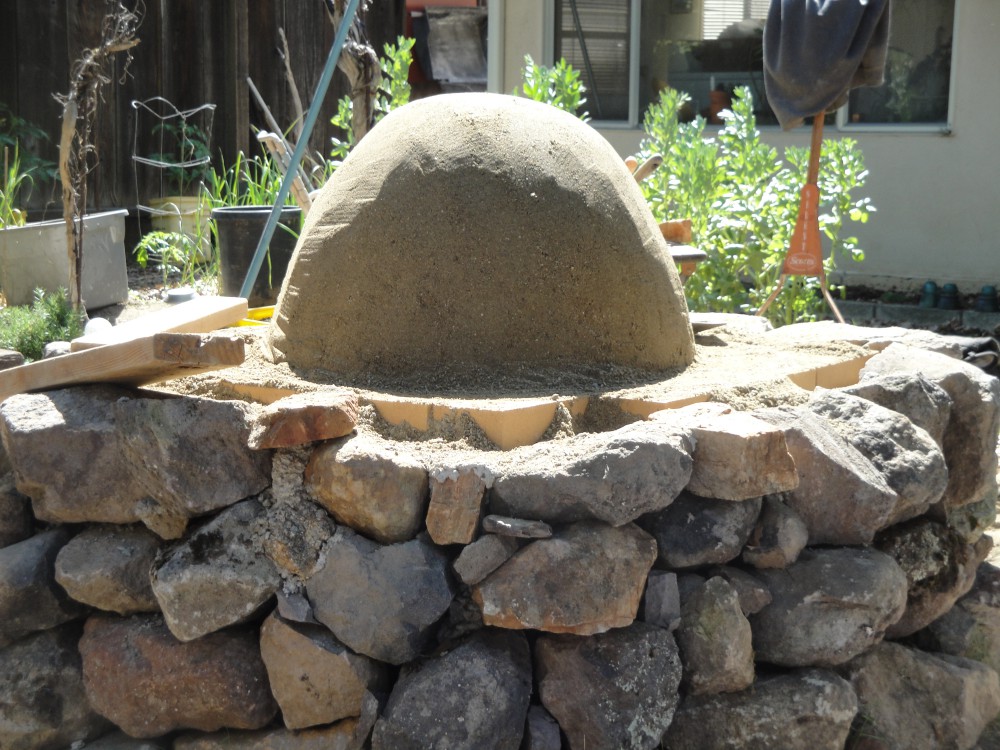
5. Draw the circle. Our circle is 27 inches. I just did the old string compass thing. Made it real dark to see better.
6. Time to do it! This next step took us from about 8AM until around 4 in the afternoon. Give yourself plenty of time.
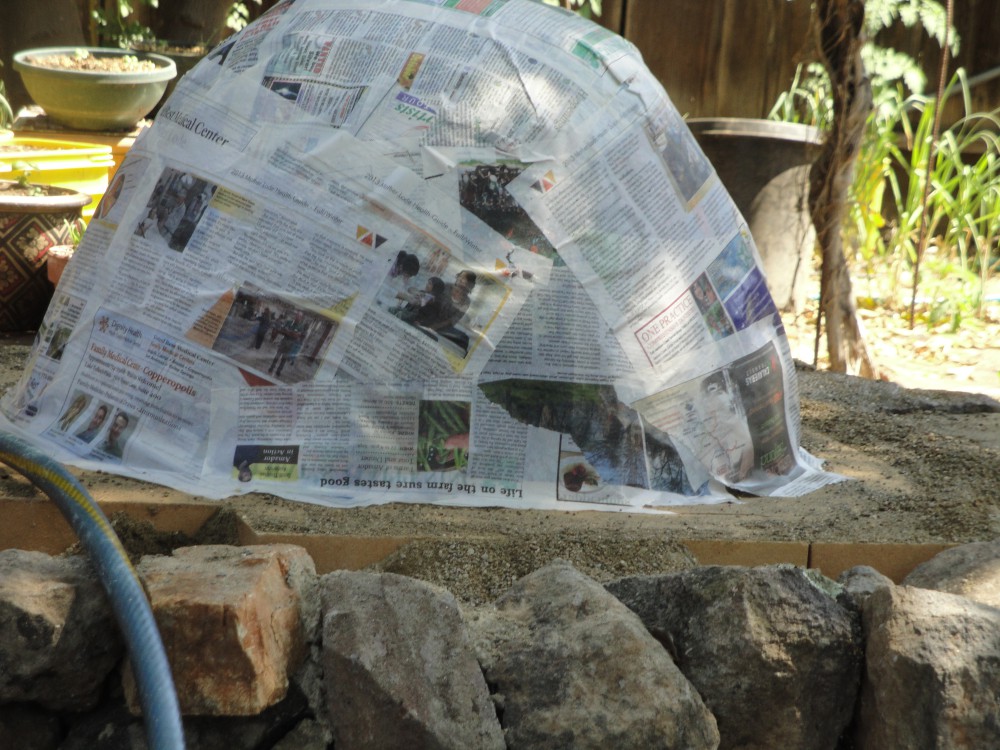
7. Make the sand dome. This is the shape for the oven and the symmetry inside is important for good oven function. It took me a bit of time to get the right water to sand mix. Too much water and it slips, not enough and it crumbles. Pounding it with the board helps to firm it up. When we had enough base to hold it, I put a 16 inch stick in the center to determine the height. Finally I got it done right. Then covered it with wet news papers.
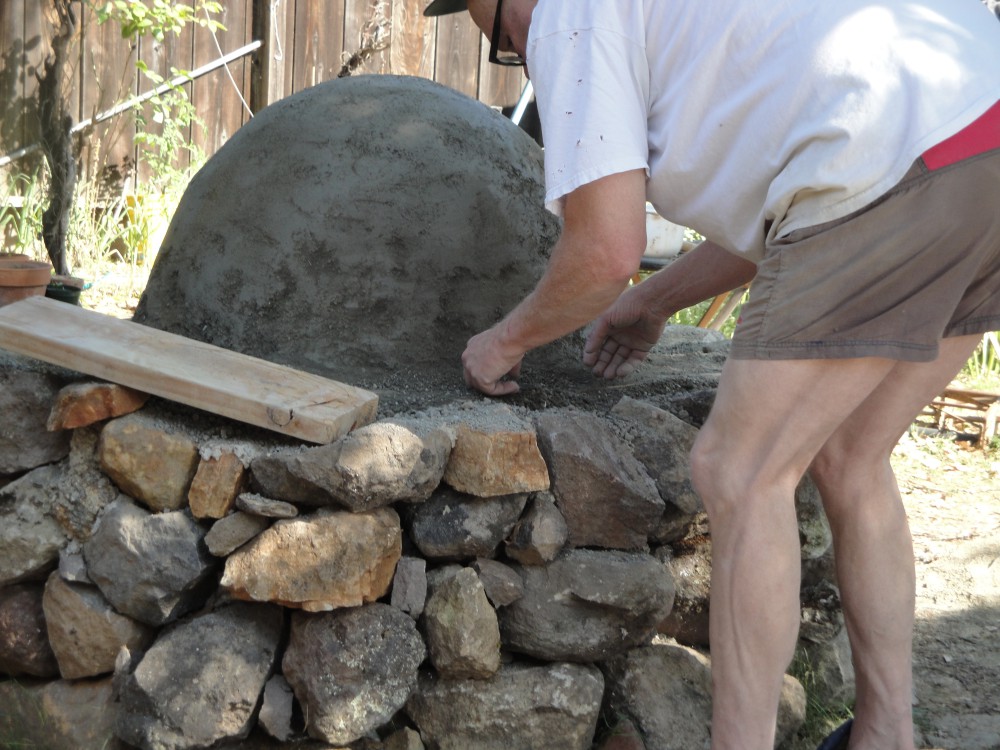
8. Scott mixed the clay and sand on a tarp. Then gently misted it with water.
9. Handful by handful we built it. Pressing each clump into the one before. Keeping them all about 3 inches of thickness. Careful not to press against the sand form. One layer on top the other until finally we were done! Our outer symmetry was a bit off so we had to add a bit more, in a couple of spots. Best to keep checking as you go, but I know the inside is good. We used our hands, and boards to smooth the sides.
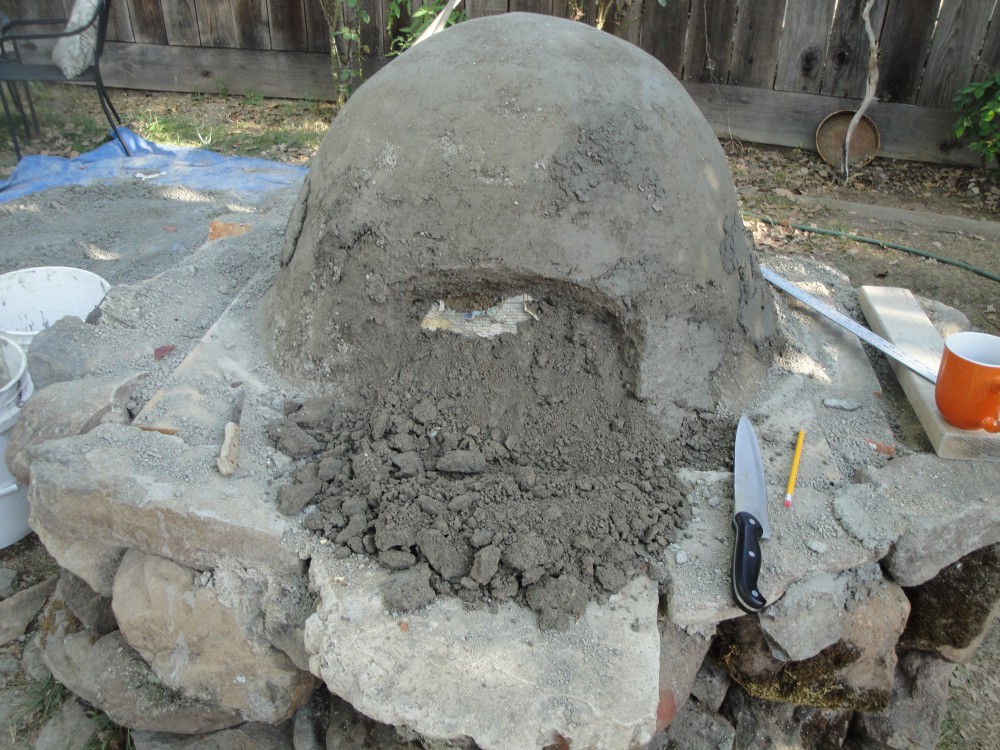
10. Cutting the door. We let it dry over night. Our door needed to be 13 inches across by 10 inches high. I measured it out, marked it. It cut easily with the knife. I really love the look and shape of the oven and base. Can’t wait until we get the insulation layer on and finish! Time for bread and pizza, roasted vegetables and meats.
Here is my brief You Tube slide show of this. 

Pingback: Cob Oven 1st Fire, Sourdough Pizza & Bread | Pam's Tactical Kitchen
Pingback: Cob Oven Thermal Layer | Pam's Tactical Kitchen