


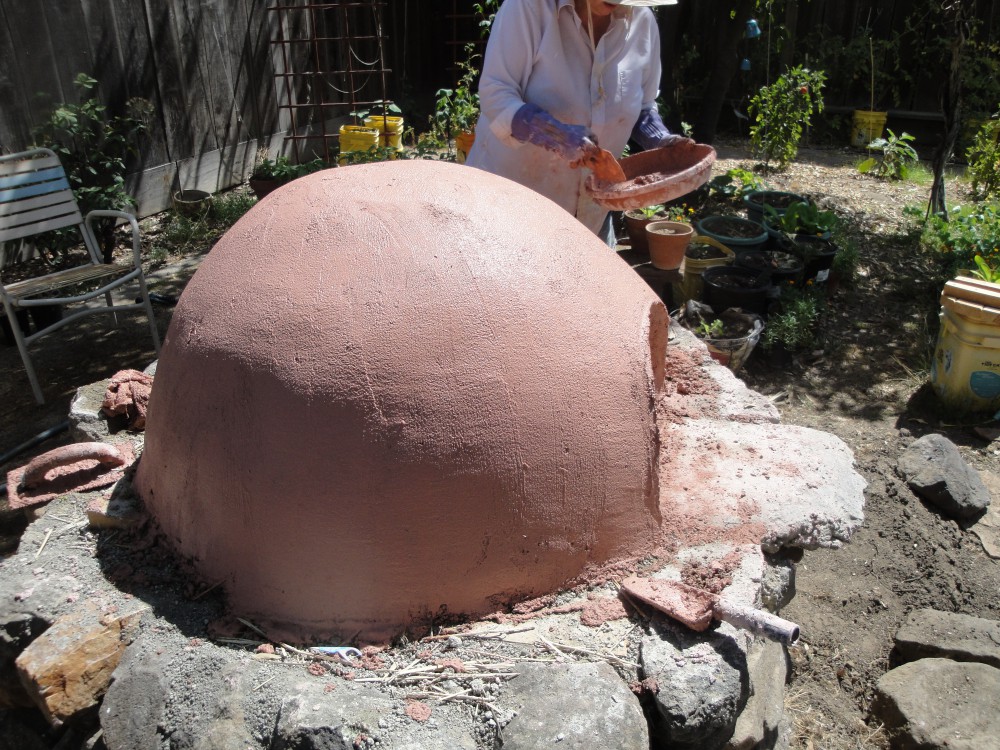


We mixed and put on the plaster layer. Needed one of the few cool days we’ve had this summer.
Plaster Mix
- 1 part hydrated lime, (uncured lime is caustic on skin, use gloves, and wash off any that gets on skin.)
- 3 parts sand
- color till it looks right
- water to yogurt like thickness
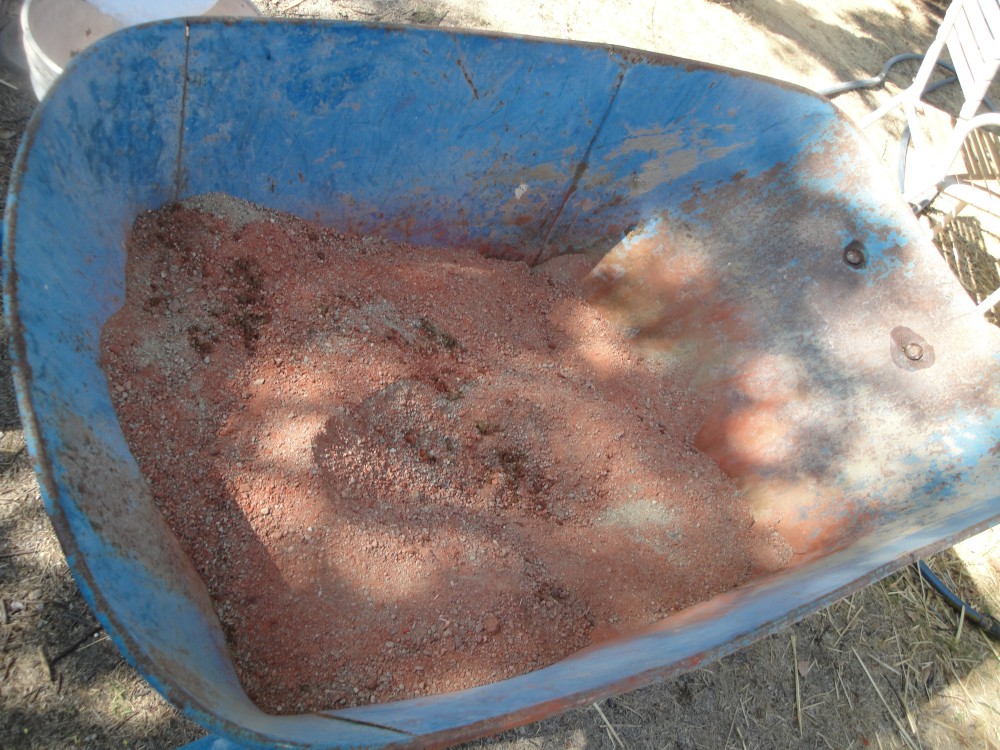
We mixed the color powder in the dry sand first. Remembering it will dry much lighter. Next we added the lime plaster. Then the water a bit at a time. We tested the mix on a board to see what we thought. Our first test seemed too wet and grainy. Wheat paste solved this issue for us. I made a paste by adding a cup or so of flour to 4-5 cups of cold water. Using a wire whisk the whole time, I beat it and brought it to a boil. It became a think glue with no lumps. See the picture above of Scott mixing it in.
It’s important to keep the surface damp, so we misted down everything, then again with a damp rag as we went along. We applied the plaster with trowels and handfuls, smoothing to about 1/2 inch thickness. The best tool I found for making the finale smoothness was a plastic dough scraper.
Next we covered everything. The concept is for weather not too hot or cold, and for the plaster to cure from carbon dioxide.
The last pictures are just now a couple weeks later. Now my plan is to clean it up. Do a painted design and embellish the lip edges.

Pingback: Cob/Pizza Oven Start to Finish | Pam's Tactical Kitchen
This is amazing! I was lucky enough to inherit an earth oven at the homestead I’ve moved to, and I’ve had a lot of fun learning to bake with it. http://livingechoblog.com/baking-bread-with-an-earth-oven/
LikeLike